How to Fix Disk Is Write Protected on USB: Guaranteed
by Alex · April 22, 2024
Encountering the “Disk Is Write Protected” error on a USB drive can be frustrating, especially when you need to write or modify data on the drive.
This error typically prevents you from formatting or saving files to the USB drive, making it seem like your drive is no longer usable.
However, fear not, as there are several proven methods to fix this issue and regain full access to your USB drive.
This comprehensive guide will walk you through the most effective solutions to fix the “Disk Is Write Protected” error on a USB drive, ensuring you can use your drive as intended.
Read Also: How to solve unfortunately settings has stopped
This method has been tested and verified, providing you with a guaranteed way to resolve the issue and get your USB drive back in working condition.
Say goodbye to write protection errors and hello to a clean, formatted USB drive with Rufus
How to Use Rufus to Clean Format a USB Drive
- Download Rufus: Visit the official Rufus website and download the software to your computer.
- Plug in the USB Drive: Insert the USB drive into a USB port on your computer. Ensure that the USB drive is properly connected and recognized by your computer.
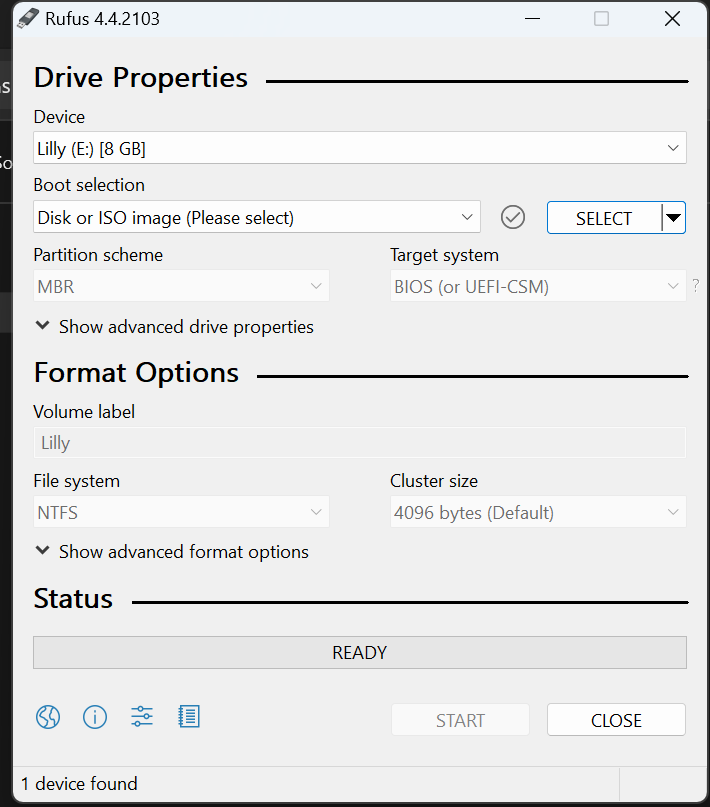
- Open Rufus: Locate the Rufus software that you downloaded and double-click on it to open the application. Rufus does not require installation and can be run directly from the downloaded file.
- Select the USB Drive: In the Rufus interface, you will see a drop-down menu under the “Device” section. Select your USB drive from this menu. Be careful to choose the correct drive, as all data on the selected drive will be erased.
- Choose Boot Selection: Under the “Boot selection” section, choose “Non-bootable” since you are formatting the drive and not creating a bootable USB drive.
- Start Formatting: Once you have selected the USB drive and chosen “Non-bootable,” click on the “Start” button to begin the formatting process. Rufus will warn you that all data on the USB drive will be erased. Click “OK” to proceed.
- Complete the Formatting: Rufus will now format the USB drive, removing any write protection that was previously applied. This process may take a few minutes, depending on the size of the USB drive.
- Finish and Verify: Once the formatting is complete, Rufus will display a message indicating that the process was successful. You can now close Rufus and safely remove the USB drive from your computer