Change WordPress Theme Without Losing Content Using a Plugin
by Alex · March 21, 2024
Changing your WordPress theme can bring a new life to your website, offering a fresh look and enhanced functionality.
However, the process can be risky, especially when you have a substantial amount of content you don’t want to lose.
Remember, when you change a WordPress theme, everything on the website changes, including the layout, design, and functionality.
Sometimes, you may want to switch to a more professional WordPress theme but hesitate due to the fear of losing your existing content. However, with the right approach and the right plugin, you can seamlessly change your WordPress theme without losing any content.
This blog will guide you step by step through the process to ensure a smooth transition.
This process will involve various steps that will guarantee you can safely switch the WordPress theme without breaking your website. These steps are:
- Back up your website.
- Create a subdomain.
- Migrate the website to the subdomain.
- Change the WordPress theme, make changes, and test.
- Back up your staged website.
- Migrate the website back to the original domain.
1. Backup Your Website
- Install and activate the WPvivid Backup plugin on your website.

- After installing, click on “Backup & Restore.”
- Ensure that “Database + Files (WordPress Files)” is selected.
- Click on “Backup Now.” This process might take some time depending on your website files.
- Once the backup is complete, you can download the backup files, which are in a zip file. The backup may be split into up to three parts. Save them on your computer.
2. Create a Subdomain
Creating a subdomain can vary depending on your web hosting provider. If you’re using cPanel, follow these steps:
- Log in to your cPanel account.
- Look for the “Domains” icon or section in your cPanel dashboard, usually located under the “Domains” section.
- Select “Create a New Subdomain.”
- Enter the desired subdomain prefix in the “Subdomain” field (e.g., “backup” for “backup.yourdomain.com”).
- Click on the “Submit” button to finish creating your subdomain.
After creating the subdomain, you can install WordPress on it:
- In cPanel, find the WordPress option and select “Install.”
- In the “Choose Installation URL” dropdown menu, select the subdomain you just created.
- Input your subdomain’s desired admin username and password.
- Once WordPress is installed, you can access your WordPress site by visiting your subdomain’s login URL.
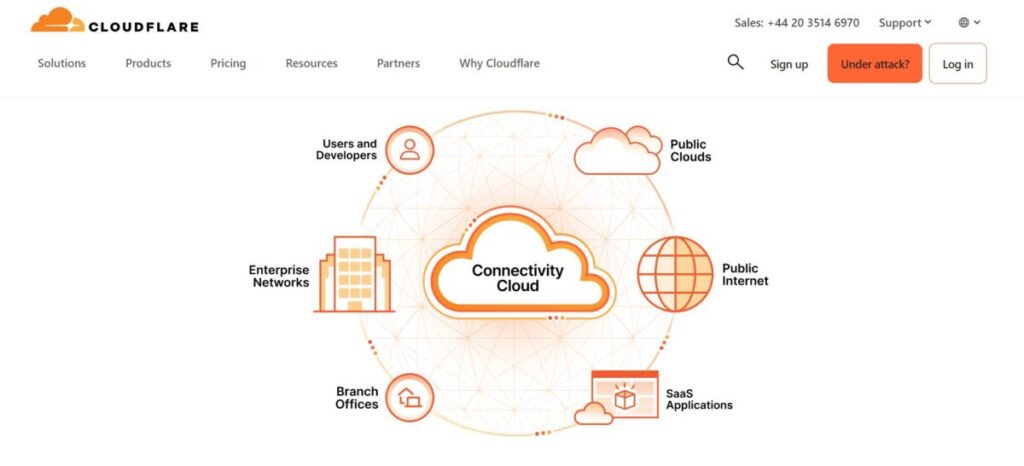
An important thing to note is that if you’re using a Content Delivery Network (CDN) like Cloudflare, you may encounter issues accessing the subdomain. To resolve this, you’ll need to update the DNS record in Cloudflare.
How to Add a Subdomain DNS Record in Cloudflare
- Access your Cloudflare account and navigate to the DNS settings for your domain.
- Look for an option to add a new DNS record.
- Choose the record type “A” (Address Record) from the dropdown menu.
- In the “Name” or “Host” field, enter the subdomain URL (e.g., “backup.yourdomain.com”).
- In the “Points to” or “Value” field, enter the IP address of your website, which can be found in the “Content” row.
- Save Changes: Save the new DNS record. The changes may take some time to propagate.
After adding the DNS record, you should be able to access your subdomain without any issues.
3. Migrate the website to the subdomain
To migrate your website to the subdomain using the WPvivid Backup Plugin, follow these steps:
Install and Activate WPvivid Backup Plugin: Log in to both the subdomain and the main website. Install and activate the WPvivid Backup Plugin on both websites.
Generate Key on Subdomain: In the WPvivid Backup Plugin settings on the subdomain, click on “Key” and generate a new key.
Paste Key on Main Website: Go to the WPvivid Backup Plugin settings on the main website. In the “Auto migration” option, paste the key generated from the subdomain and click save.
Clone and Transfer: Select the “Clone and Transfer” option in the WPvivid Backup Plugin settings on the main website. Wait for the transfer to complete.
Scan Uploaded Backup: In the WPvivid Backup Plugin settings on the subdomain, go to the ‘backup and restore’ option and select “scan uploaded backup.”
Restore Backup: Click on the “restore backup” option. This process may take some time depending on the size of your website.
Login to Subdomain: After the restoration is complete, log in to the subdomain using the main website’s login credentials.
Check Subdomain: Check the subdomain to ensure that both websites have similar content and design. If everything looks good, the migration is successful.
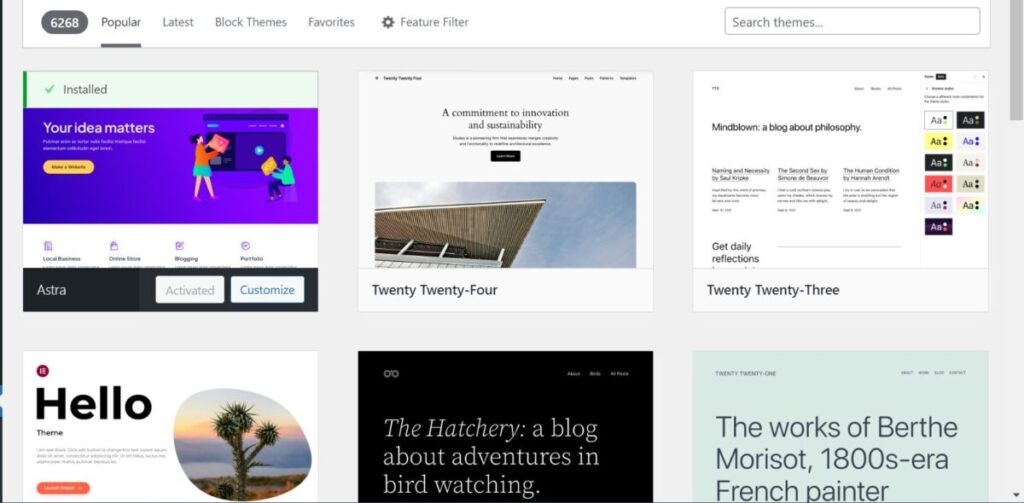
4. Change the WordPress Theme on the Subdomain
Now that you’ve migrated your website to the subdomain, you can work on it without affecting the main website.
Install the new desired WordPress theme and make any necessary changes.
Since this is a separate environment, there is no risk when changing the WordPress theme and making modifications.
5. Back up the subdomain website
After you have made changes to the website and are satisfied with the current WordPress theme, you should back up the subdomain website to ensure there is no risk when changing the WordPress theme and to preserve content.
Here’s how you can do it:
- Go to the WPvivid Backup Plugin in the “Backup and Restore” section.
- Ensure that “Database + Files (WordPress Files)” is selected.
- Click on “Backup Now.”
- Once the backup is complete, you can download the backup files. Save them on your computer.
Now you have two backups: the main website backup, which is the one before making changes, and the subdomain backup, which is after you have changed the WordPress theme. Keeping both backups allows you to restore them at any time.
6. Migrate the Website Back to the Original Domain
This is the final step to switch the WordPress theme that you have customized on the subdomain and transfer it to the main website.
There are two ways to migrate your website back to the original domain:
First Option:
- On the main website, in the WPvivid Backup Plugin settings, click on “Key” and generate a new key.
- Copy the key and paste it into the “Auto migration” option on the subdomain website. Click save.
- Select “Clone and Transfer” and wait for the transfer to complete.
- On the main website, go to the ‘backup and restore’ option and select “scan uploaded backup”.
- Click on the “restore backup” option.
- Log in and check the website. It should be working fine without losing any content.
- After a successful transfer, remember to delete the subdomain and its files as they consume your hosting storage.
Second Option:
- On the main website, go to the WPvivid Backup Plugin and in the “backup and restore” section, select upload.
- Upload the backup you downloaded from the subdomain after making changes.